

A trendy, practical guide to choosing the perfect zodiac jewelry: signs, colors, stones, and handmade...
Fascia Premio PLATINUM
€150.00
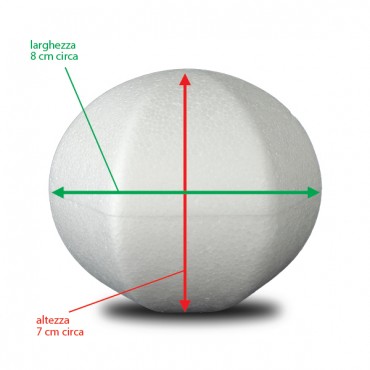
Sp105 Hexagonal Polystyrene Ball - 7cm
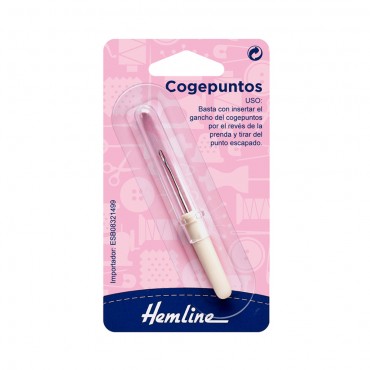
Uncinetto per rimagliare fino.
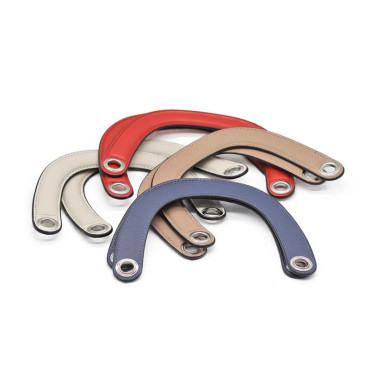
VIP2553 H MANICI JADORE
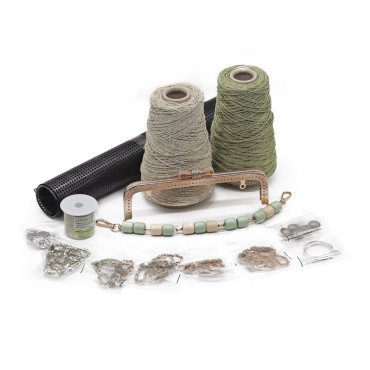
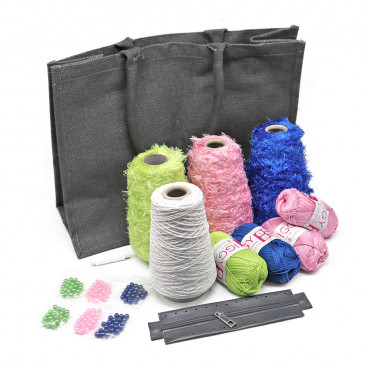
VIP2565 A BORSA ART DECO'
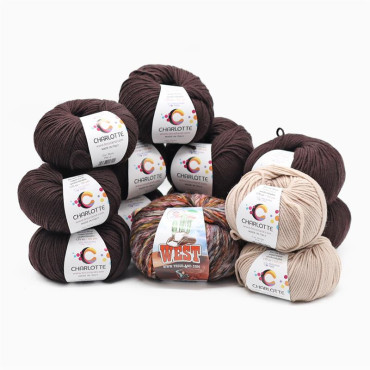
VIP2601 B Gilet Dallas


")
.png)
.png)
.png)
.png)
.png)
.png)
.png)
.png)
.png)
.jpg)

Leave a comment