


A trendy, practical guide to choosing the perfect zodiac jewelry: signs, colors, stones, and handmade...
spedizione gratuita presso un FERMOPOINT
€19.00
Carrello della spesa
0 prodotti
Sblocca
i tuoi premi
A trendy, practical guide to choosing the perfect zodiac jewelry: signs, colors, stones, and handmade...
In an increasingly grey-scale world, this article invites you to put color back into circulation with style and...
Discover what Tessiland’s VIP Room is: the Tuesday live at 5:00 PM where you’ll find previews, creative kits, and...
The crochet Toffee Bag is late winter 2026’s caramel bag: a cozy-chic design with a faux-fur detail, clean lines, and...
A mini magazine-style guide to celebrate Valentine’s Day with crochet: 3 projects made by us and paired with...


There is an aesthetic that more than any other represents a warm, elegant Christmas—part aristocratic, part “mountain lodge”: the Ralph Lauren style. Tartan fabrics, velvet, dark wood, soft scarves, cream-colored candles, antique gold details: an atmosphere that smells of lodges, lit fireplaces and creative evenings wrapped in a soft blanket. In this article, I take you on a journey through this trend—with crochet ideas, palettes, styling and a sweet DIY teddy bear you can make in just a few steps. Let’s start by seeing how to create one of Ralph Lauren’s classic elements: the teddy bear.
(Ralph Lauren style with a tartan touch)
This project is perfect even for those who have never held a crochet hook before: you only need a chain stitch and single crochet. Ready? Let’s begin!
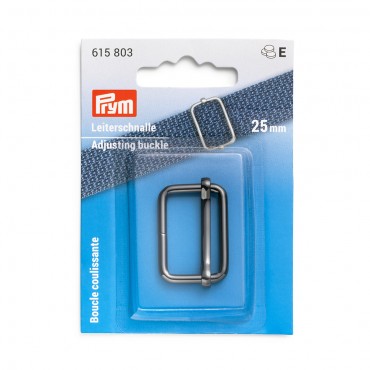
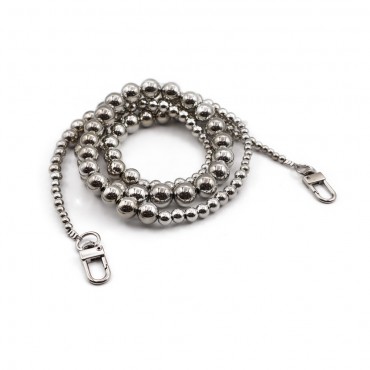
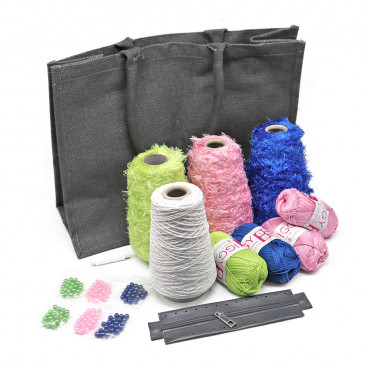
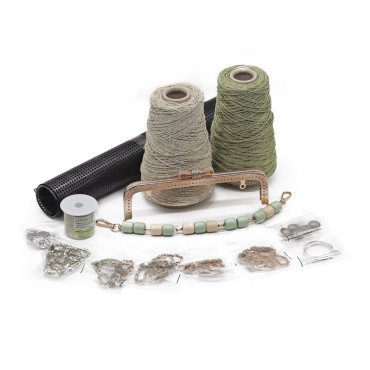
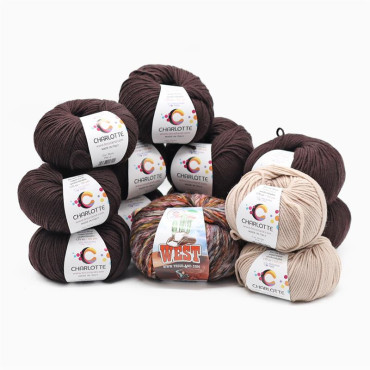
MATERIALS
.jpg)
STEP 1 – The crochet square
Start with 33 chain stitches, then work single crochet to the end.
Repeat for 30 rows.
STEP 2 – From square to teddy bear (no crochet)
Take the square:
STEP 3 – Head and body
Create a division of the rolled panel not in half but at one third of the panel, cross it slightly, then open the two rolled parts while holding the rest in place with your hands.
Secure the part forming the head with an elastic; the arms will naturally form too.
STEP 4 – Shaping the teddy bear
Adjust the shapes with your hands.
For the ears: pinch two small areas and secure them with two elastics.
STEP 5 – Details
Insert the safety eyes, locking the backs on the reverse side of the work, and glue the small nose in place.
Details make all the difference!
STEP 6 – The Ralph Lauren touch
Add the tartan bow.
And here is your teddy bear in true “Ralph Lauren” style.
I'm also leaving you the video tutorial we created for you:
I hope you enjoyed this project! It’s perfect as a decoration, gift idea, or creative activity for children.
Tag me on Instagram when you make your teddy bear!
Merry creative Christmas to everyone!
Rosaria Tessiland®
.jpg)

Leave a comment