


A trendy, practical guide to choosing the perfect zodiac jewelry: signs, colors, stones, and handmade...
spedizione gratuita presso un FERMOPOINT
€19.00
Carrello della spesa
0 prodotti
Sblocca
i tuoi premi
A trendy, practical guide to choosing the perfect zodiac jewelry: signs, colors, stones, and handmade...
In an increasingly grey-scale world, this article invites you to put color back into circulation with style and...
Discover what Tessiland’s VIP Room is: the Tuesday live at 5:00 PM where you’ll find previews, creative kits, and...
The crochet Toffee Bag is late winter 2026’s caramel bag: a cozy-chic design with a faux-fur detail, clean lines, and...
A mini magazine-style guide to celebrate Valentine’s Day with crochet: 3 projects made by us and paired with...


Anyone who loves Christmas knows there’s a special way to bring magic into the home: creating something with your own hands.
This year I decided to make a Christmas tree–shaped crochet cushion, a super simple project inspired by the beautiful video tutorial by the YouTuber Brunaticality, which we followed step by step… then adding a personal touch: small handmade bows.
The result? A soft, decorative cushion, perfect on the sofa or as a festive detail in a special corner of the home.
And the best part is that you can make it in just one day!
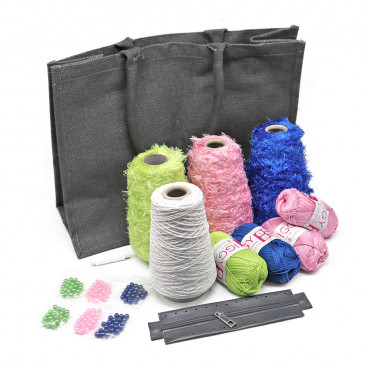
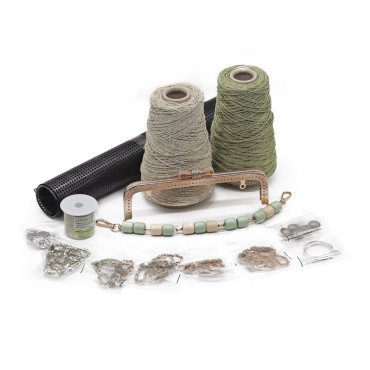
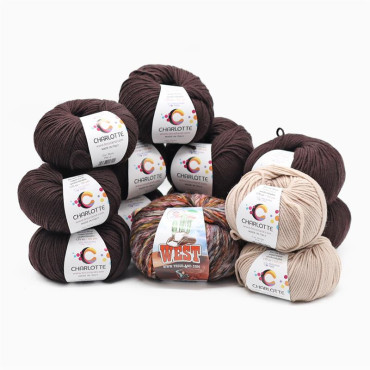
For our tree cushion, we chose soft, easy-to-work yarns, ideal even for beginners:
.jpg)
Begin with a magic ring.
Work 2 chains + 2 double crochets.
Close the ring by pulling the thread: this is the first row of your little tree.
General rule: at the end of each row, work 1 chain and turn your work.
From here on, to increase the width of the tree:
Work 2 double crochets into the first stitch of the row.
Work 2 double crochets into the last stitch of the row.
These will be your constant increases.
Continue like this:
Next row: 2 increases (beginning and end) and regular double crochets in between.
Following row: increase, 1 double crochet, increase.
Continue this pattern for 10 rows, always increasing at the beginning and end of the row.
Once you reach the tenth row, move on to the second “branch”.
Make the last chain and turn.
Now slip stitch across 5 stitches.
In the 6th stitch: work 1 chain + 2 double crochets.
Then:
Continue with double crochets until the sixth-to-last stitch.
Work the final increase with 2 double crochets in the same stitch.
Five stitches remain intentionally unworked.
Continue for another 10 rows, always increasing only at the beginning and end.
Exactly like the previous step:
Leave 5 stitches unworked.
Reach them with slip stitches.
Start with 1 chain and work:
2 double crochets in the first stitch
regular double crochets in between
2 double crochets in the last stitch
Repeat for 10 rows.
At the end, leave a long green tail and cut.
Switch to Bravissimo50 Brown:
Insert your hook into the 9th stitch and attach the yarn.
Work 1 chain + 1 double crochet in the same stitch.
No increases here: work only double crochets for 4 rows, leaving 9 green stitches unworked on each side.
You will need two identical panels.
Then:
Overlap them with the right sides facing outwards.
Sew all around using the darning needle.
Insert the stuffing.
Close the final opening.
Take the leftovers of your Moby and Grace Gold yarns:
Insert the hook into the point where you want to place the bow.
Pull the yarn through.
Use your hands to tie a knot and then form the bow.
You can add just a few or many, depending on your style.
A simple, quick and super satisfying project, perfect for:
Here is also the video tutorial I followed to make the cushion:
If you make it, tag me: I can’t wait to see your Christmas tree cushion on the sofa, near the fireplace, or in a cozy corner of your home filled with handmade magic.
Rosaria Tessiland®
.jpg)

Leave a comment