


A trendy, practical guide to choosing the perfect zodiac jewelry: signs, colors, stones, and handmade...
spedizione gratuita presso un FERMOPOINT
€19.00
Carrello della spesa
0 prodotti
Sblocca
i tuoi premi
A trendy, practical guide to choosing the perfect zodiac jewelry: signs, colors, stones, and handmade...
In an increasingly grey-scale world, this article invites you to put color back into circulation with style and...
Discover what Tessiland’s VIP Room is: the Tuesday live at 5:00 PM where you’ll find previews, creative kits, and...
The crochet Toffee Bag is late winter 2026’s caramel bag: a cozy-chic design with a faux-fur detail, clean lines, and...
A mini magazine-style guide to celebrate Valentine’s Day with crochet: 3 projects made by us and paired with...


The balaclava, now an essential accessory for the cold seasons, turns into a work of art thanks to the crochet technique! In this article, I will explain how to make a balaclava using eight granny squares, just like the one shown in the picture. Perfect for those who love handmade creations with a retro touch, this project combines tradition and modernity in a versatile and fashionable accessory.
.jpg)
You will need 8 identical squares for the balaclava.
Follow the detailed tutorial for the granny square:
Repeat until you have eight identical squares.
Once the eight squares are ready, proceed with the assembly to form the balaclava. You can sew them together or join them with a slip stitch using your crochet hook.
You can join the squares with a slip stitch along the edges. This creates a decorative and sturdy border. If you prefer an invisible finish, use a darning needle and a hidden stitch.
For a final touch:
The balaclava made with granny squares is not just a practical winter accessory but also a statement of style and creativity. Each piece is unique, just like you! This project will not only keep you warm but also let you proudly showcase your crochet skills.
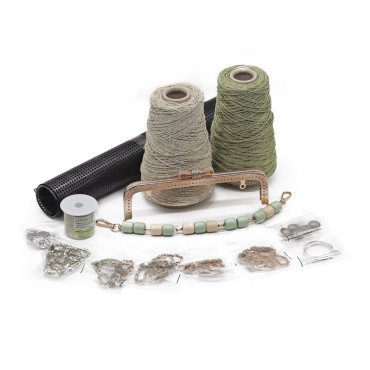
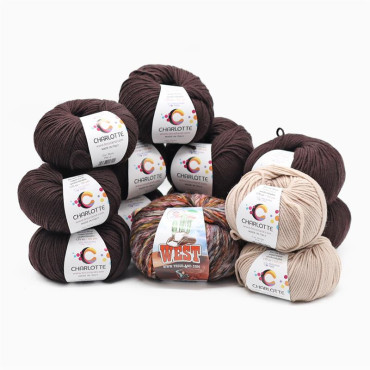
If you need quality yarns or accessories for this project, check out our products on the Tessiland website, specially selected to guarantee perfect results.
Happy crafting, and… don’t forget to share your finished granny square balaclava with us!
Rosaria Tessiland®
.jpg)

Leave a comment