

A trendy, practical guide to choosing the perfect zodiac jewelry: signs, colors, stones, and handmade...
spedizione gratuita presso un FERMOPOINT
€19.00
Carrello della spesa
0 prodotti
Sblocca
i tuoi premi
A trendy, practical guide to choosing the perfect zodiac jewelry: signs, colors, stones, and handmade...
In an increasingly grey-scale world, this article invites you to put color back into circulation with style and...
Discover what Tessiland’s VIP Room is: the Tuesday live at 5:00 PM where you’ll find previews, creative kits, and...
The crochet Toffee Bag is late winter 2026’s caramel bag: a cozy-chic design with a faux-fur detail, clean lines, and...
A mini magazine-style guide to celebrate Valentine’s Day with crochet: 3 projects made by us and paired with...


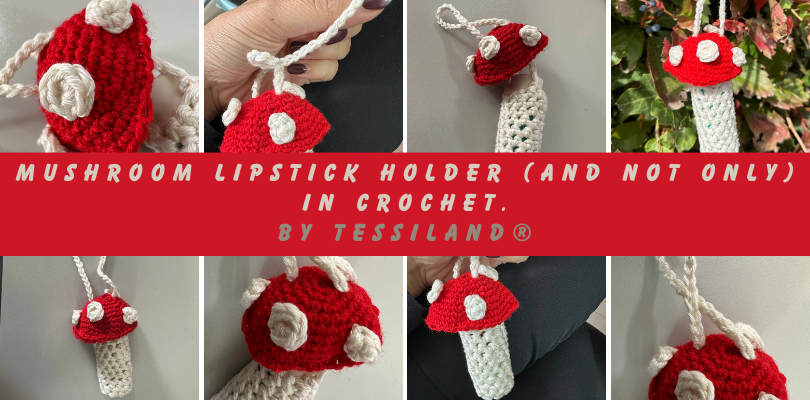
One of the most viral trends on YouTube and TikTok lately is creating these small details, made by crocheting, to be applied on bags and backpacks to carry lipstick, lip balm, house keys, and other little trinkets essential for our daily lives.
But what's behind this trend and how is it made?
In this article, we'll guide you step by step in creating this delightful accessory, combining the art of crochet with today's youthful freshness.
It's also a great solution to use up leftover yarn tucked away in a drawer.
Prepare your yarns and hooks, and dive with us into this fascinating handmade world!
Worked in double, this yarn is the main base for your lip balm holder. Its neutral shade will make the red even more vibrant and will highlight every detail of your work.
Also worked in double, the red cotton will add that touch of liveliness and contrast to your accessory, making it instantly recognizable and special.
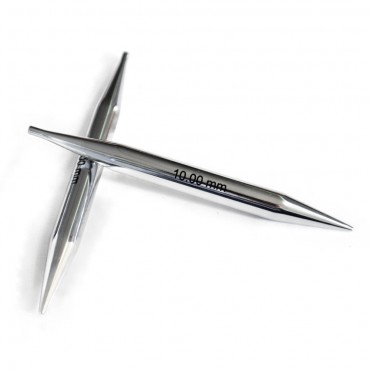
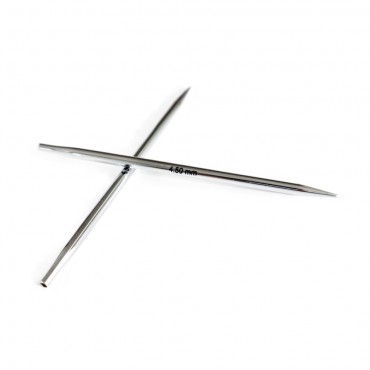
You will need a size n. 4 crochet hook. This size is perfect for working with doubled cotton to get a dense texture, yet soft and flexible at the same time.
Useful for marking specific points in your work, the marker will help you keep track, especially if you need to pause and resume later.
Essential for cutting the yarn once the work is done or for refining any excesses.
This will be needed to join the different parts of the accessory or to refine details. Make sure you have a needle suitable for the yarn size.
Now that you have all the materials at hand, you are ready to start creating your crocheted lip balm holder. Good work!
Technical description of the crochet project, white part:
Row 1:
Using white cotton yarn, start with a magic circle and work 8 single crochets (8sc) inside.
Row 2:
Make one increase stitch (1inc) followed by 2 single crochets (2sc). Repeat this pattern for the entire row.
Row 3-13:
Work one single crochet (1sc) in each of the single crochets from the previous row, continuing evenly for all rows from the third to the thirteenth.
After completing the thirteenth row and reaching the desired height, make the last stitch and, without closing, start a chain of 50 stitches (50 ch).
Note:
Ensure you maintain a consistent yarn tension throughout the work to achieve a uniform result.
Technical description of the crochet project, red part:
Row 1:
Make a magic circle with 6 stitches
Row 2:
Make an increase in every stitch, thus you will have 12sc
Row 3:
Work 1 single crochet and 1 increase, thus you will have 18sc
Row 4:
Work 1 single crochet, followed by 1 single crochet and then 1 increase, thus you will have 24sc
Row 5:
Work 1 single crochet in every single crochet, you will have 24sc
Row 6:
Work 2 single crochets, followed by 1 single crochet, followed by 1 increase, thus you will have 30sc
Row 7:
Work 1 single crochet in every single crochet, you will have 30sc
Row 8:
Work 2 single crochets, followed by 1 increase, and then 4 single crochets, followed by 1 increase, thus you will have 36sc
Row 9-10-11:
Work one single crochet in every 36sc for 3 rows.
Cut the yarn and we have completed the mushroom cap.
Technical description of the crochet project, mushroom spots.
Create 5 spots, just execute a magic circle worked with 6 single crochets, close the work with a slip stitch and make a chain, cut the yarn 2cm, and complete for 5.
Use the crochet hook and the leftover threads you didn't cut from the magic circles to tie them onto the red mushroom cap.
With the crochet hook, thread the chain we created near the center of the red work into the mushroom cap, sew and tie.
Project successfully completed.
Rosaria Tessiland®
.jpg)

Leave a comment